If you are building a website using Cru Sites you have the option to add your own domain name to your site.
Your site will always be available at sites.cru.org/(your site name) but if you want it to also be available at your own domain you’ll need to complete the steps in this tutorial.
Step 1: Register Domain
You’ll need to register your domain name with a domain registrar. There are many companies that offer this service. You can use any domain registrar you’d like. We recommend Go Daddy as they are one of the largest and our IT staff are most familiar with their interface in the event you need assistance.
Step 2: Create A CNAME Record
With your registrar you will need to create a CNAME record for your domain that points the domain at our servers.
You’ll need to have a CNAME record pointing to vip-wordpress.cru.org before you can map the domain.
Every registrar is slightly different but your CNAME should look something like this.

If you need help setting up your CNAME your domain registrar can help you with that.
Step 3: Check CNAME Propagation
It’ll take 2-24 hours for your CNAME record to propagate across all the Name Servers around the internet.
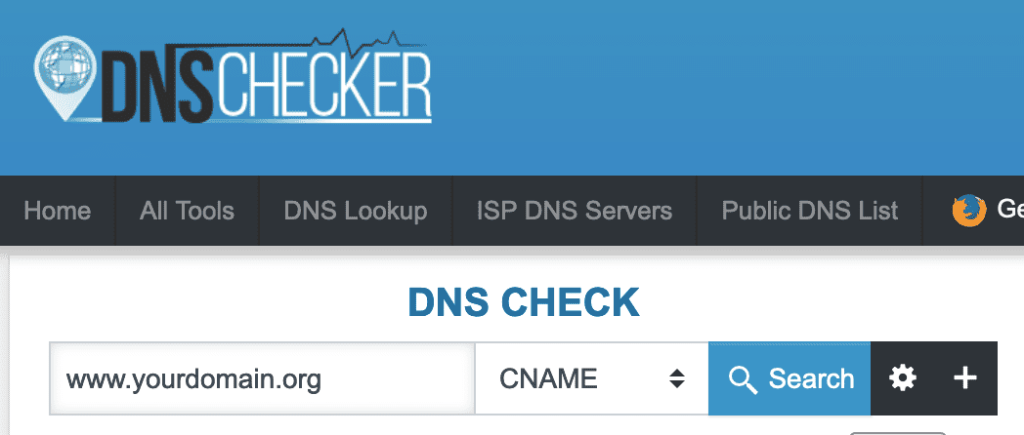
You can check if it’s propagated by going to dnschecker.org
Fill in the form with your domain name and make sure the type is set to CNAME. Press the blue Search button.
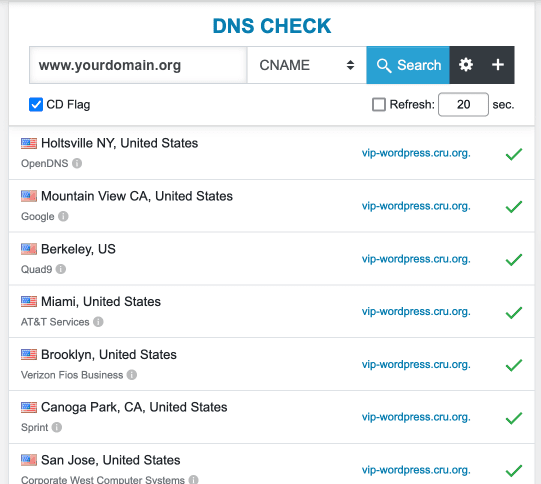
When the domain has finished propagating the results will look like the image below, with all green checkmarks on the right. When your results look like this you can continue to Step 4.
Step 4: Map Domain In WordPress
Once your CNAME record is propagated you can complete the next step.
Log into your sites WordPress dashboard.
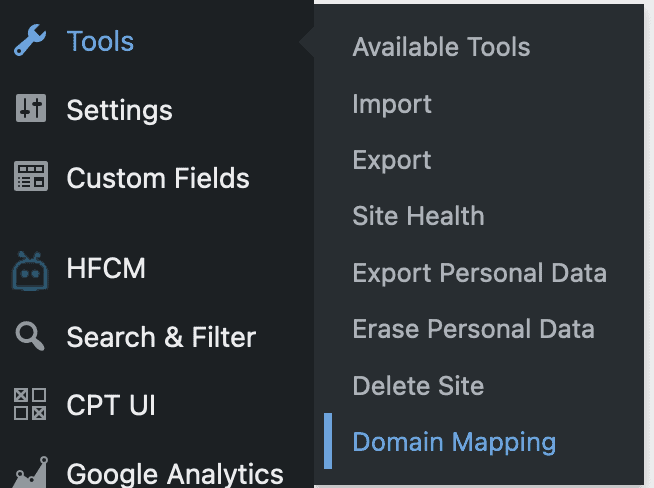
Under Tools in the left navigation click on Domain Mapping.
In the form on that page enter your domain, with www, and press the blue Map domain button.

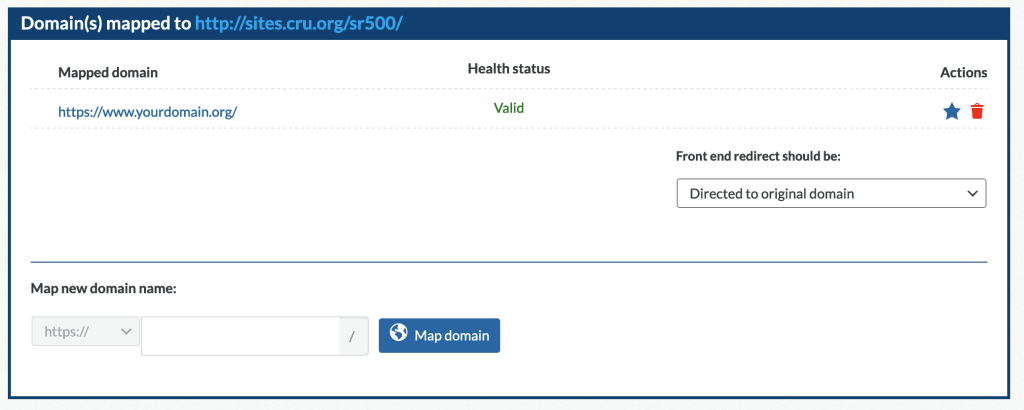
In a few moments the form should change to look like the image below.
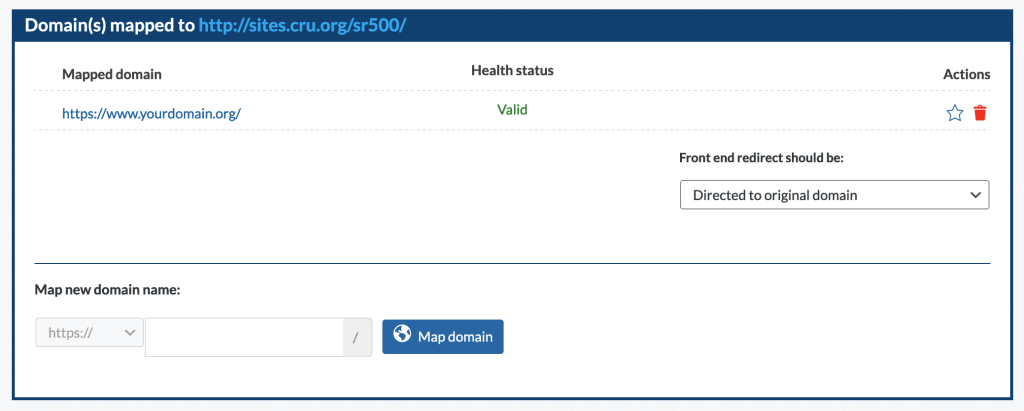
You now need to click the star icon on the far right to make the domain name the primary domain.
Step 5: Getting Domain To Work Without WWW
1. On the form on their site for the Source (old domain) enter your domain without the www.
2. For the Destination (new domain) enter your domain with the www.
3. Click the Create free redirect button and follow the steps to create your free account.
4. Redirect Pizza will give you directions on how to complete the process from this point. They will give you an IP address that you will add to you DNS settings. Once you’ve completed their steps your site will work without the www.

You’ve now successfully mapped your domain to your sites.cru.org website.